Schedule Timeline
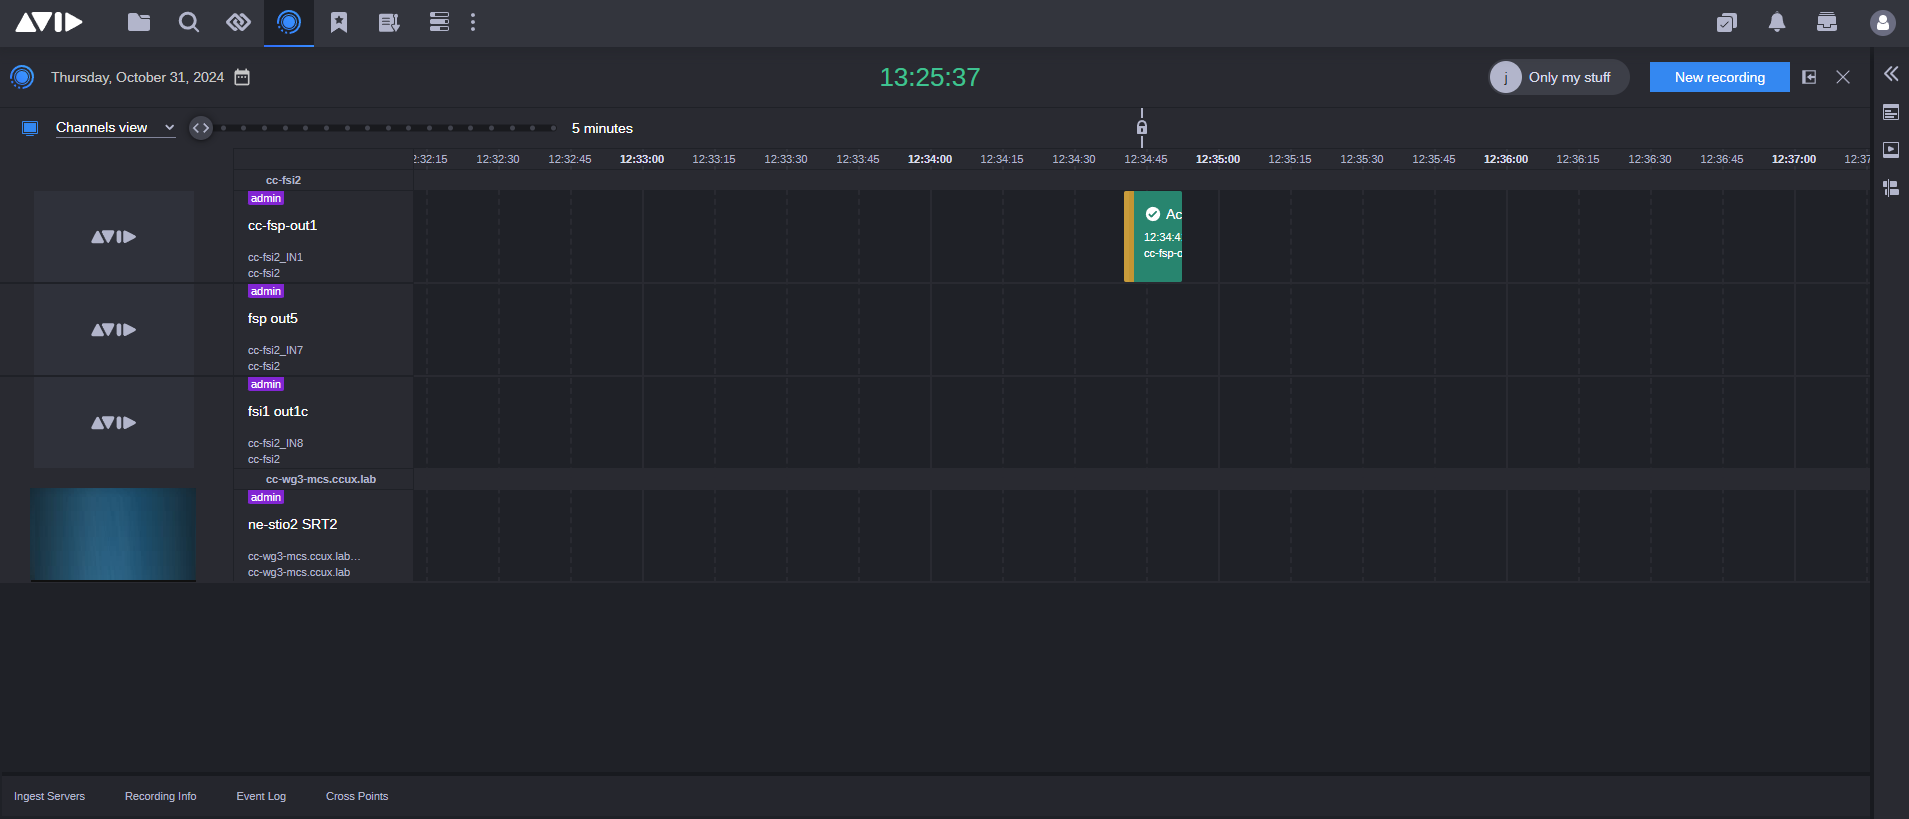
The Schedule timeline, which appears in Channels view, shows you the current time with a schedule that can be set to various dates and time increments using the Calendar and the Timeline Zoom bar.
For more information, see Selecting a View.
Selecting a View
You can schedule new recordings, view or edit previously scheduled recordings (according to the entitlements and groups assigned to your account) , from either the Channels View or the List View.
Options include the following:
-
Channels View (default)
-
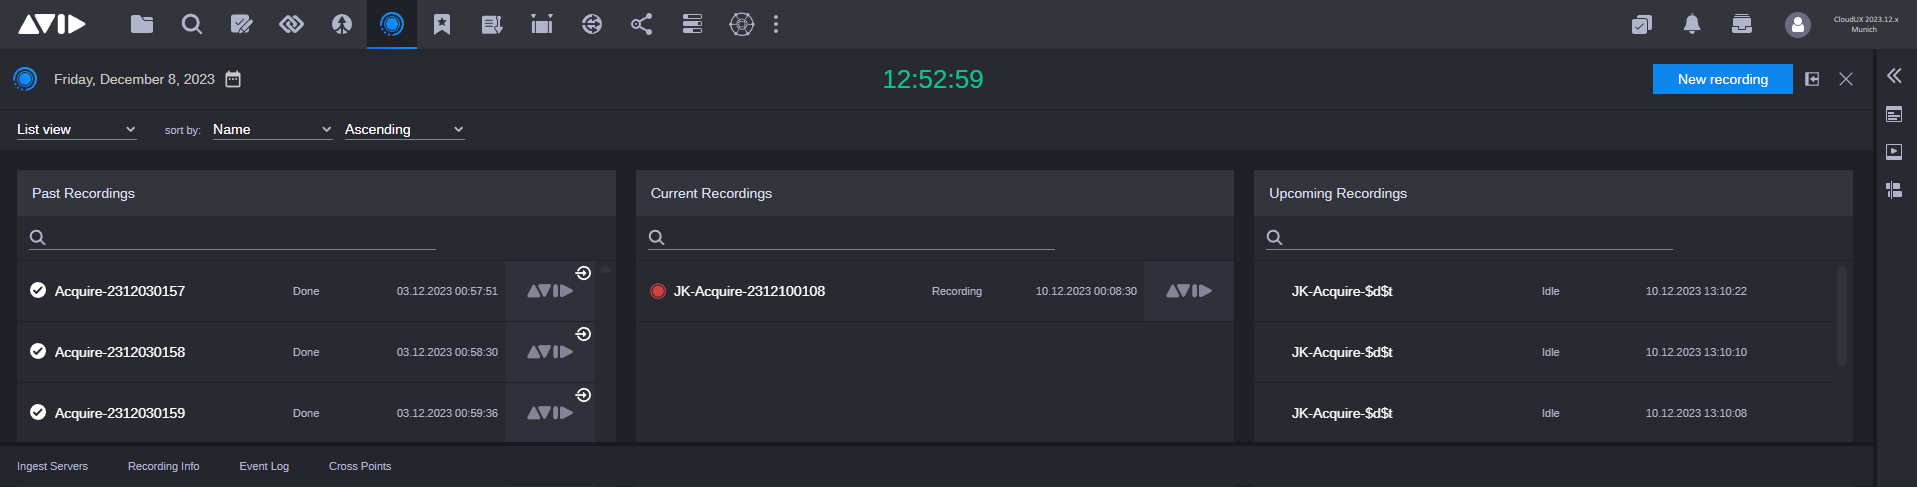
List View
Acquire allows to schedule a recording with multiple destinations (more than one channel record at the same time). In that case, a few rectangles will be shown in the Channels View, but only one in the List view. The tooltip shows all the details, the Recording Info (Info Panel) as well, but the tile in the List View shows only the first target from the list.
To select a view:
-
Click Channels View gives more control and allows you to see what is and what will be happening on each and every channel. Channels View is the default view.
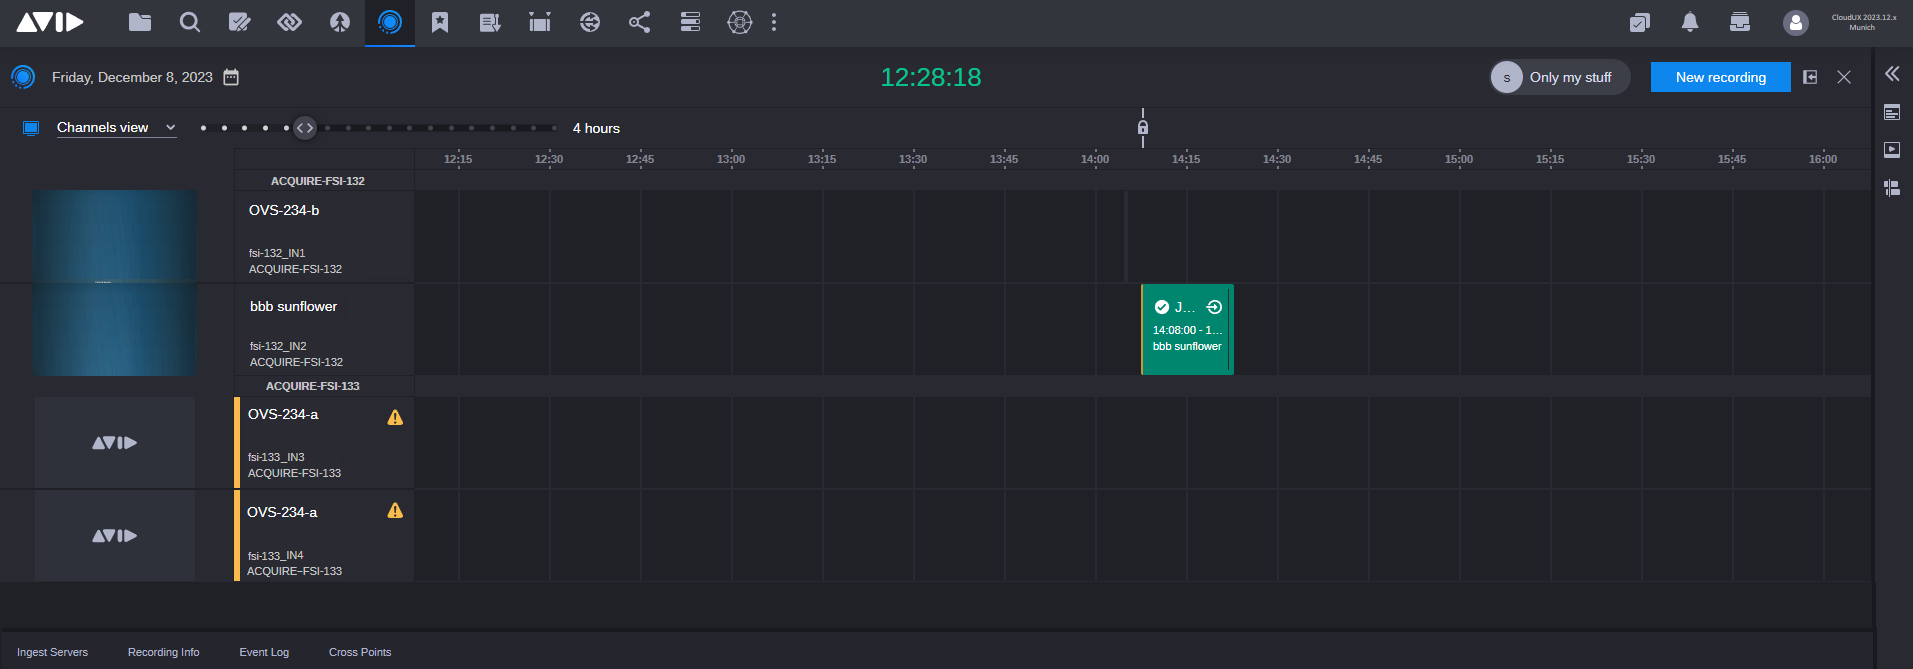
You can schedule recordings from this view by double-clicking anywhere in the future part of the schedule as shown in the previous example. The entire selection box must be in the future.
This brings up the Recording Details | New dialog box. This is where you can provide a name, and any other details for the recording. You can also view or edit all scheduled recordings. For more information, see Recording Details | New Window.
-
Click List View to see the overall status of the recording. This includes the ability to filter past, current, and future recordings so they could be found easily. You can also create a new, or view or edit all previously scheduled recordings. These display in separate columns under the following headings.
-
Past Recordings
-
Current Recordings
-
Upcoming Recordings
-
You can also search for past, current, or upcoming recordings. If you select a recording from the list, you can edit or delete it.
For more information, see the following topics:
Setting the View Range or Zoom
The Timeline Zoom bar enables you to click and drag to the desired Zoom range that you want in the Schedule panel. This function only appears in Channels View. The Channels View displays a 5 minute range by default but you can display by hours or even up to a 7 day range.
n When manually selecting a date or several dates in the calendar, the view is reset to that selection. For instance, if you select one day in the calendar, your view is changed to one day. If you select four days in the calendar, your view is changed to four days.
To set the view range:
-
Click the Timeline Zoom bar.

-
While clicking on the Timeline Zoom bar, drag to the desired time range (e.g., 5 minutes, or 1 hour) that you want to display on the Schedule timeline.
The following screen example shows the Schedule timeline with an 1 hour Zoom.
